 Anil Computers 18/368, PREM KUTIR, UNIVERSITY ROAD, UDAIPUR - 313001RAJASTHAN, INDIA
 [email protected]@[email protected]
 09414234600, 7737447183

Introduction
Start filmora
Double click on software
Audio, video, images import
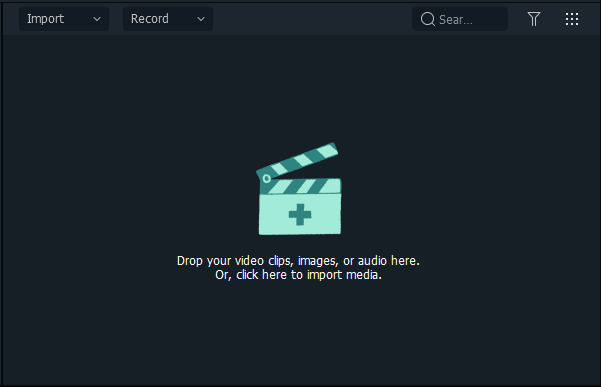
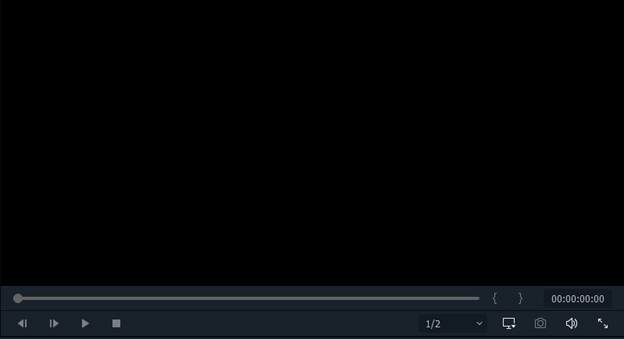
Edit preview
timeline
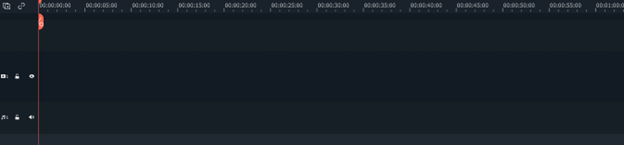
playhead
![]()
Record
(1.) Record from webcam यदि PC में web can connect हैं तो इससे record कर सकते हैं
(2.) Record PC screen - screen के साथ voice record करना I
इसमें Audio, vidio दोनों option मिलेंगे और इसमें हम भी रख सकते हैं
इसके लिए license की जरूरत नहीं है Recording मैं watermark नहीं आता है
-full screen
-custom जितना चाहे उतनी screen लेना
-target window जो software आपका जितना दिख रहा है उतना ही target बनाया जाता है
- full screen के W- 1920 H- 1080
Note : full screen के लिए यही रखना है यदि यह नहीं आता है तो आपके pc का Resolution set करना है
Right Click on desktop
Display setting
display Resoulation
1920 x 1080 ( Recommended )
- speaker on रखना है
- microphone wives चलती हुई दिखाई देनी चाहिए जो हम बोलते हैं
-Setting
. save to - file path
. frame rate - 25fps
[ Note - जितना frame rate बढ़ाते हैं उतनी ही file की size बढ़ेगी ]
.Ouality - Best
Record time :stop Recording after
[जैसे हम कोई Recording को timing के according set करना चाहते हैं तो इसे use करना है ]
Mouse: show mouse click in Recording
play mouse click sound
Pause /Resume hotkey :
start /stop Hotkey :
any shortcut key like f10 (default)
camera: record the camera stream
camera यदि connect हो तो य option use
(3) Record voiceover
(alt+R) इस option से हम केवल
Audio Record कर सकते हैं
device - Choose Device
input - input audio
start
If your PC has a connected webcam, you can use it to record directly.
You can record your screen along with voice.
Both audio and video options are available.
You can also include yourself (via webcam overlay).
No license is required for recording.
No watermark appears on the recorded video.
Full Screen
Resolution: Width = 1920, Height = 1080
Note: To ensure full screen recording, your PC's resolution must be set to 1920 x 1080.
Right-click on Desktop → Display Settings → Display Resolution → Set to 1920 x 1080 (Recommended)
Custom Area – Select any desired area of the screen.
Target Window – Only records the selected application's window.
Ensure Speaker is ON.
Ensure Microphone is active and shows voice input (waves) when you speak.
Save to – File path where recordings will be saved.
Frame Rate – 25 fps recommended.
(Note: Higher frame rates increase file size.)
Quality – Set to Best.
Option to Stop Recording After a specific time.
(Useful when you want to record only for a set duration.)
Show mouse click in recording.
Play mouse click sound.
Pause/Resume Hotkey
Start/Stop Hotkey – Example: F10 (default)
Record the camera stream
(Use this if your camera is connected and you want to include it in the recording.)
Use shortcut key Alt + R to record audio only.
Device – Choose input device (microphone).
Input – Select audio input source.
Click Start to begin voice recording.