 Anil Computers 18/368, PREM KUTIR, UNIVERSITY ROAD, UDAIPUR - 313001RAJASTHAN, INDIA
 [email protected]@[email protected]
 09414234600, 7737447183
 Anil Computers 18/368, PREM KUTIR, UNIVERSITY ROAD, UDAIPUR - 313001RAJASTHAN, INDIA[email protected]@[email protected]09414234600, 7737447183
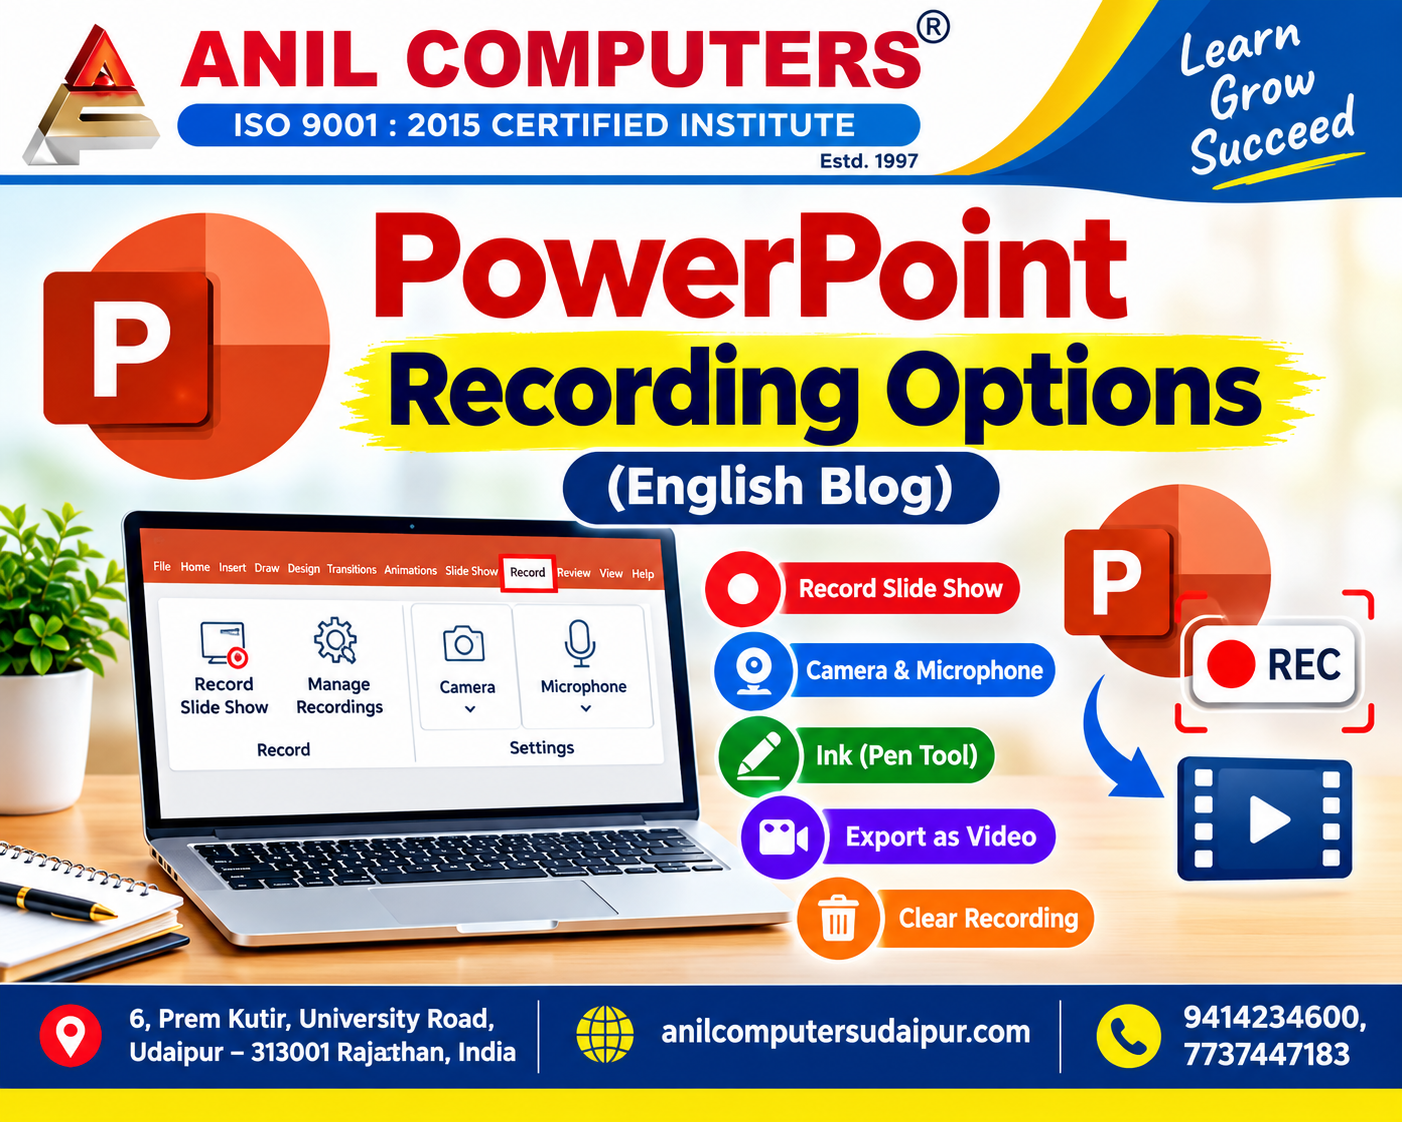
PowerPoint 2021 has a Record tab in the Ribbon that is used to record a presentation or screen recording as a video. It is especially useful for online teaching, tutorials, or creating presentation demos.
Open PowerPoint and open any presentation.
If the Record tab is not visible in the Ribbon, go to File > Options > Customize Ribbon.
On the right side, check the Record checkbox and click OK.
The Record tab will now appear in the Ribbon.
It allows you to record your entire presentation slide by slide.
You can record your voice (Audio), face (Webcam video), and Laser Pointer/Pen annotations.
The timing of each slide is automatically saved, so the presentation can play later at the same speed.
1. Go to the Record tab.
2. Click Record Slide Show.
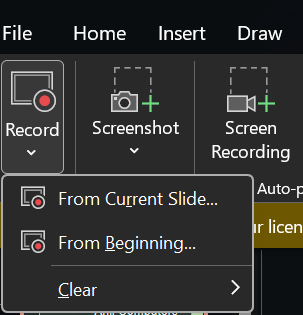
3. Select the option to record from the Current Slide or from the beginning.
4. Click the red Record button (●) — the countdown will begin.
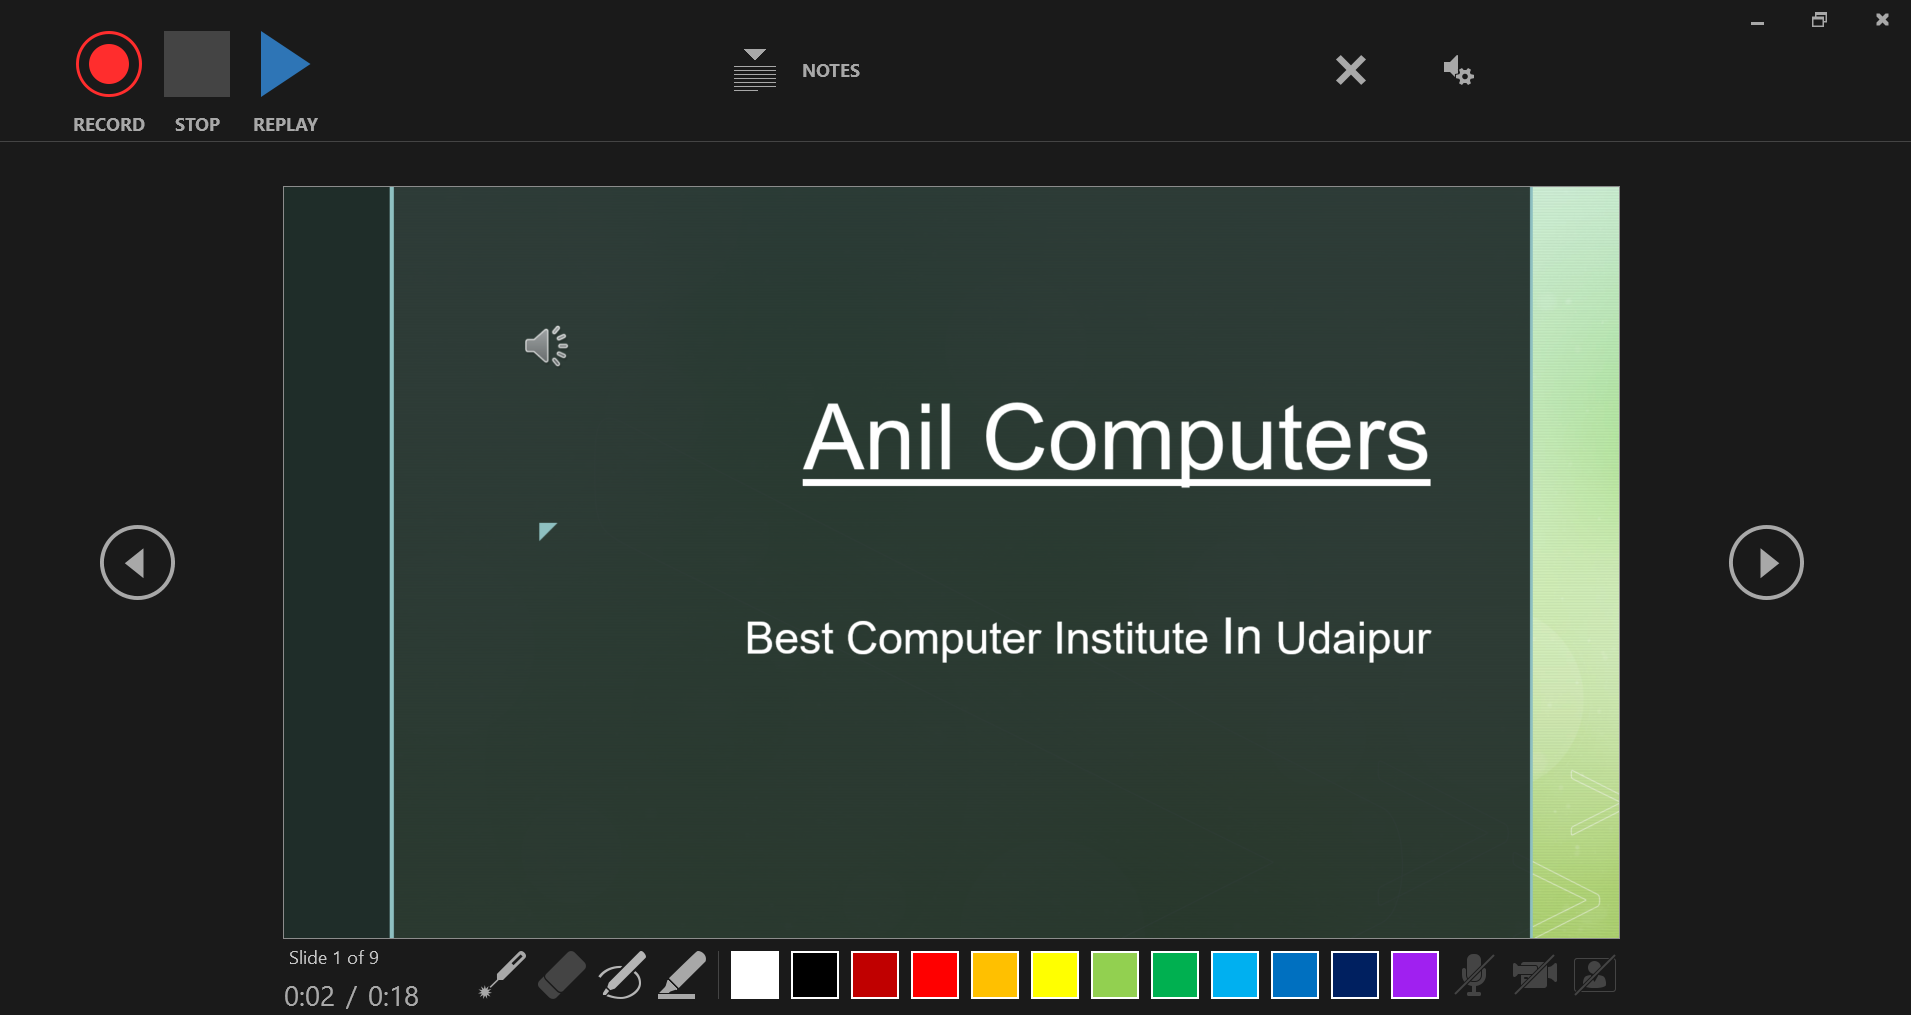
5. Speak and move through the slides.
6. Click Stop (■) to stop the recording.

7. Close the window — the recording will be saved automatically.
You can turn the camera ON/OFF directly from the Record tab.
You can check the microphone audio level.
Your webcam video can appear in the corner of the presentation in Picture-in-Picture style.
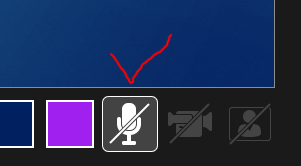
Click the Camera icon to turn it ON/OFF.
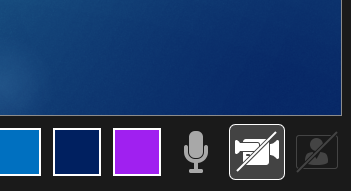
Click the Microphone icon to turn the audio ON/OFF.
During recording, you can write on the slide using a Pen or Highlighter to highlight important points.
In the recording window, select the Pen or Highlighter icon from the toolbar at the bottom.
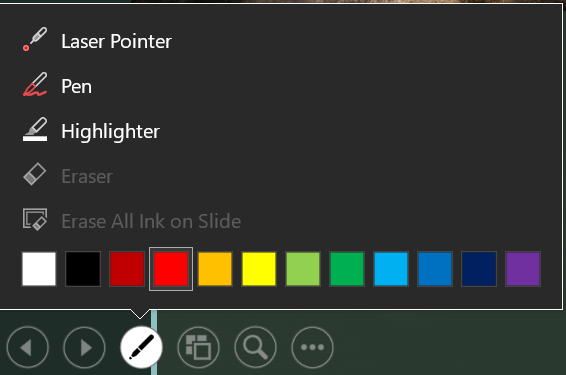
Click the dropdown arrow to select the pen color.
Use the mouse or touchscreen to write or draw directly on the slide.

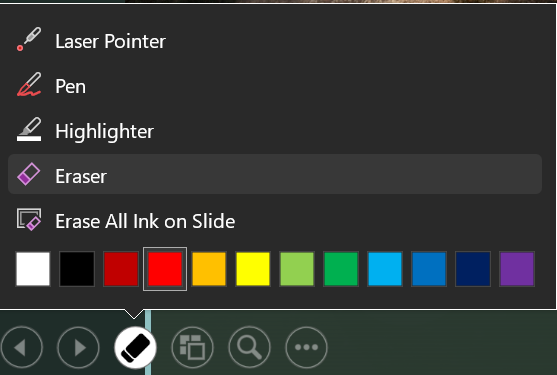
If you make a mistake, you can use the Eraser tool to erase it.
After completing the recording, you can directly export it as an MP4 video file.
Go to File > Export.
Select Create a Video.
Select the video quality (1080p / 720p / Standard).
Select Use Recorded Timings and Narrations.
Click Create Video, enter the file name and location, and then click Save.
If the recording of a particular slide is not correct, you can delete the recording of only that slide and record it again.
In the Record tab, click the Clear dropdown.
Select Clear Recording on Current Slide — only the recording of the current slide will be deleted.
Or select Clear Recordings on All Slides — the recording of the entire presentation will be deleted.
After deleting the recording, start a new recording using Record Slide Show.
To create online lectures or tutorials.
To create self-paced training videos.
To share a presentation without presenting it live.
The main view used for creating and editing a presentation.
Used to view all slides together and arrange them.
Used to view the presentation without editing tools.
Used to run the presentation in full-screen mode.
Used to set the layout, design, and theme for all slides.
Used to customize the design and layout of printed handouts.
Used to set the layout and design of presentation notes.
First, take a Blank Slide and draw a clock using Shapes.
Then create a duplicate copy of the slide.
Use Ctrl + D / Shift + D, then change the position of the arrow on the clock on each slide.
Go to the first slide and select the arrow.
Go to the Animations menu.
Select any animation.
Start: After Previous
Go to the Transitions menu.
After: 00.01
Click Apply to All.
Press F5 / Shift + F5 to run the presentation.
Thanks To Google
Thanks To ChatGPT
AI Content Writing & Research Tools
OpenAI ChatGPT – AI Content Writing & Ideas
Google Google Gemini – Smart Research Assistant
Design & Graphics Tools
Canva – Graphics & Design Creation
Adobe Adobe Firefly – AI Image & Design Generation
Remove.bg – Background Remover for Images
Video Creation & Editing Tools
Google Google Flow – AI Video Creation Tool
InVideo – AI Video Maker & Reels Creator
Pictory – Blog to Video Conversion
Synthesia – AI Avatar Video Creation
Runway ML – AI Video Editing & Effects
CapCut – Short Video Editing
Voice & Audio Tools
ElevenLabs – AI Voiceover Generator
Descript – Audio/Video Editing with AI
SEO & Marketing Tools
Ubersuggest – SEO & Keyword Research Tool
https://neilpatel.com/ubersuggest
Productivity & Document Tools
Microsoft Microsoft Copilot – Documents & Office Productivity AI
iLovePDF – PDF Edit, Convert & Merge Tool
Popular AI Platforms for Learning
Midjourney
DALL·E
Leonardo AI
✨ Learn with AI Tools, Grow Faster, and Make Your Work More Professional.
— Team Anil Computers