 Anil Computers 18/368, PREM KUTIR, UNIVERSITY ROAD, UDAIPUR - 313001RAJASTHAN, INDIA
 [email protected]@[email protected]
 09414234600, 7737447183
 Anil Computers 18/368, PREM KUTIR, UNIVERSITY ROAD, UDAIPUR - 313001RAJASTHAN, INDIA[email protected]@[email protected]09414234600, 7737447183
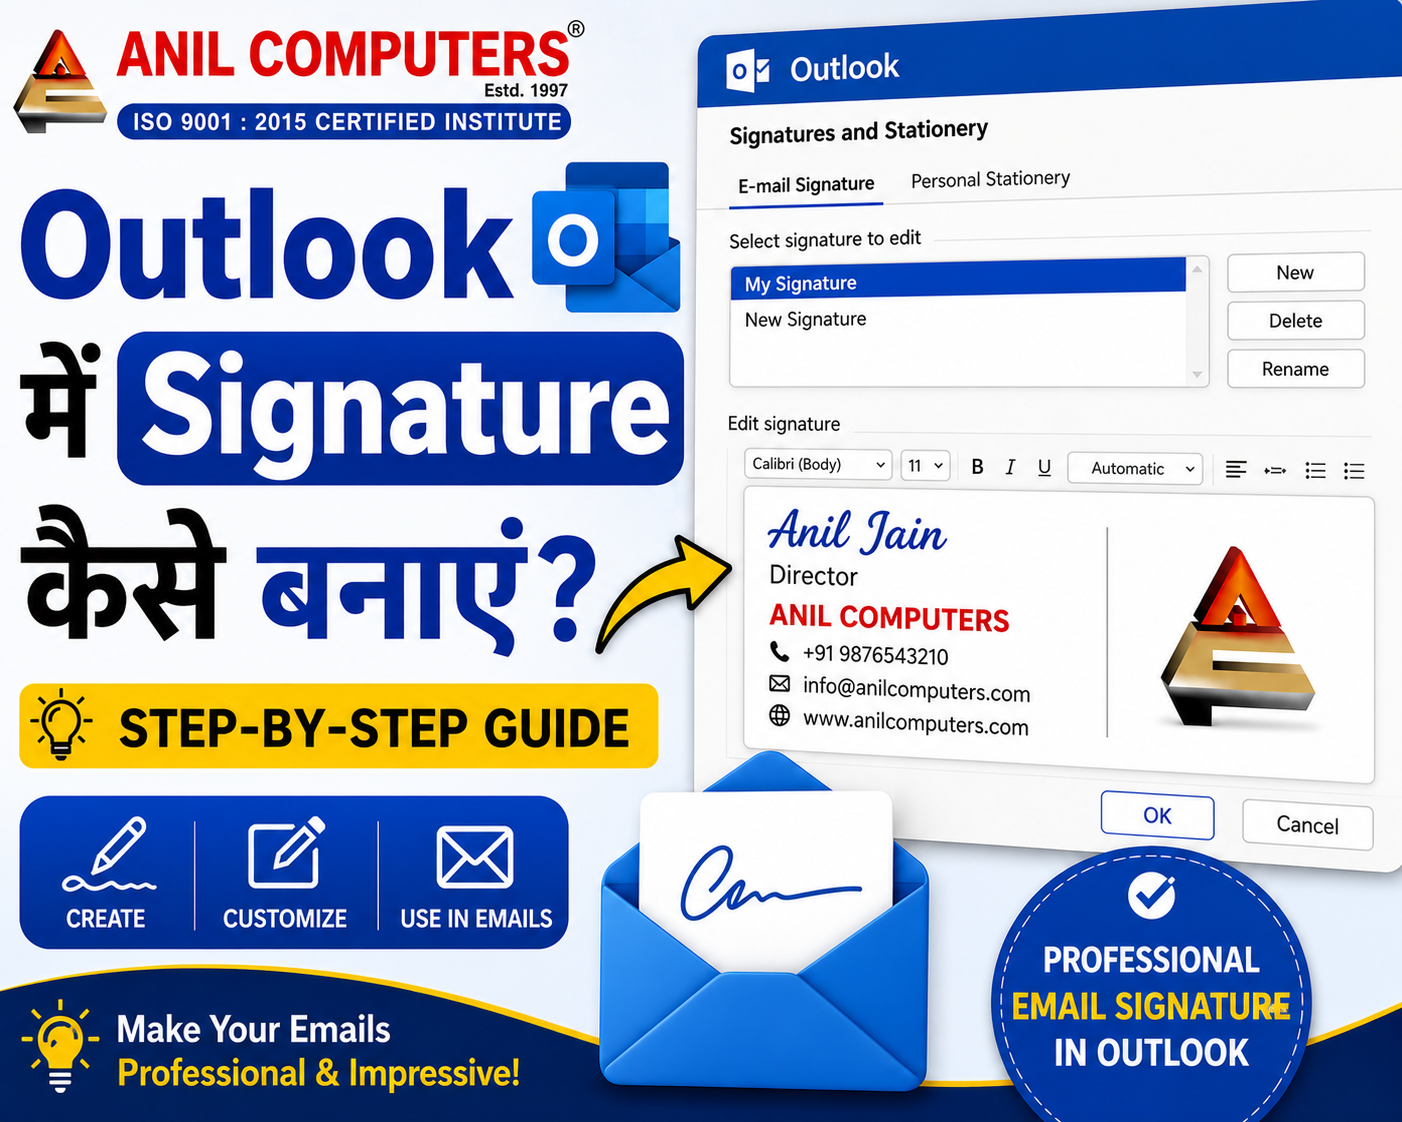
Microsoft Outlook में Email Signature एक उपयोगी feature है, जिसकी मदद से हम अपने ईमेल के अंत में अपना नाम, पद, मोबाइल नंबर, कंपनी/संस्था का नाम, वेबसाइट आदि जानकारी automatically जोड़ सकते हैं। इससे हर बार ये जानकारी manually type करने की जरूरत नहीं पड़ती और email अधिक professional दिखाई देता है।
Outlook Signature एक predefined text या information होती है, जो email के अंत में automatically add की जा सकती है।
उदाहरण:
Regards,
Anil Computers®
6, Prem Kutir, University Road, Udaipur – 313001, Rajasthan
Mobile: 9414234600, 7737447183
Website: anilcomputersudaipur.com
· ऊपर दाईं तरफ ⚙️ Settings पर क्लिक करें।
· Settings की window खुलेगी।
· वहाँ Accounts पर क्लिक करें।
· फिर Signatures option चुनें।
· New Signature पर क्लिक करके अपनी signature बनाएं।
उदाहरण:
Anil Computers Signature
आप इसमें:
जैसी चीजें भी जोड़ सकते हैं।
अब जब आप New Email खोलेंगे, तो आपकी बनाई हुई signature email के नीचे automatically दिखाई देगी।
अगर आपने automatic signature enable नहीं किया है, तो email लिखते समय Signature option पर click करके अपनी signature select कर सकते हैं।
Outlook का Email Signature एक simple लेकिन बहुत उपयोगी feature है। इसकी मदद से आप अपने emails को professional बना सकते हैं और अपनी contact information automatically प्रत्येक email में जोड़ सकते हैं।
Previous Chapter Link
Thanks To Google
Thanks To ChatGPT
AI Content Writing & Research Tools
OpenAI ChatGPT – AI Content Writing & Ideas
Google Google Gemini – Smart Research Assistant
Design & Graphics Tools
Canva – Graphics & Design Creation
Adobe Adobe Firefly – AI Image & Design Generation
Remove.bg – Background Remover for Images
Video Creation & Editing Tools
Google Google Flow – AI Video Creation Tool
InVideo – AI Video Maker & Reels Creator
Pictory – Blog to Video Conversion
Synthesia – AI Avatar Video Creation
Runway ML – AI Video Editing & Effects
CapCut – Short Video Editing
Voice & Audio Tools
ElevenLabs – AI Voiceover Generator
Descript – Audio/Video Editing with AI
SEO & Marketing Tools
Ubersuggest – SEO & Keyword Research Tool
https://neilpatel.com/ubersuggest
Productivity & Document Tools
Microsoft Microsoft Copilot – Documents & Office Productivity AI
iLovePDF – PDF Edit, Convert & Merge Tool
Popular AI Platforms for Learning
Midjourney
DALL·E
Leonardo AI
✨ AI tools के साथ सीखें, तेज़ी से बढ़ें और अपने काम को प्रोफेशनल बनाएं।
— Team Anil Computers